Quick start
Here's the short tutorial to give you basic idea of how Scripting Gallery can help you automate the process of creating image gallery.
Guide
- Download the Sample pack bundled with the latest release of Scripting Gallery in one of two language versions you'd prefer most (English or Russian).
- Unzip Sample pack anywhere on your disc. It contains:
- the .vbs file of the script itself,
- folder with sample images not surprisingly called "
images", - logo image for "big" output images called "
logo.png", - frame image for thumbnails with Aspect Ratio (AR) > 1 called "
frame.png", - frame image for thumbnails with AR <= 1 called "
frame_horiz.png", - GNU-GPL license.
- Launch the .vbs file and specify the path to the folder with sample images (actually what you need to do is to add "
images" at the end of default path presented in the dialog window). Then agree with everything you'll be asked in old-school dialog manner by pressing the OK button. Of course, you can change any setting value as you wish. But it's a demonstration, so I want everything to go smooth and assume that for the first time you running the script everything will go defaults;) - After setting all configuration parameters Photoshop starts automatically (you have one, right?).
- And, voila! After Photoshop finishes processing sample images you'll get the nicely arranged output files of "big" images (scaled to height of 600px with logo watermark added) and thumbnails (with frames applied to them according to source image's Aspect Ratio), which can be found in subfolders "b" and "s" respectively in sample images folder.
Wasn't that simple?
Result
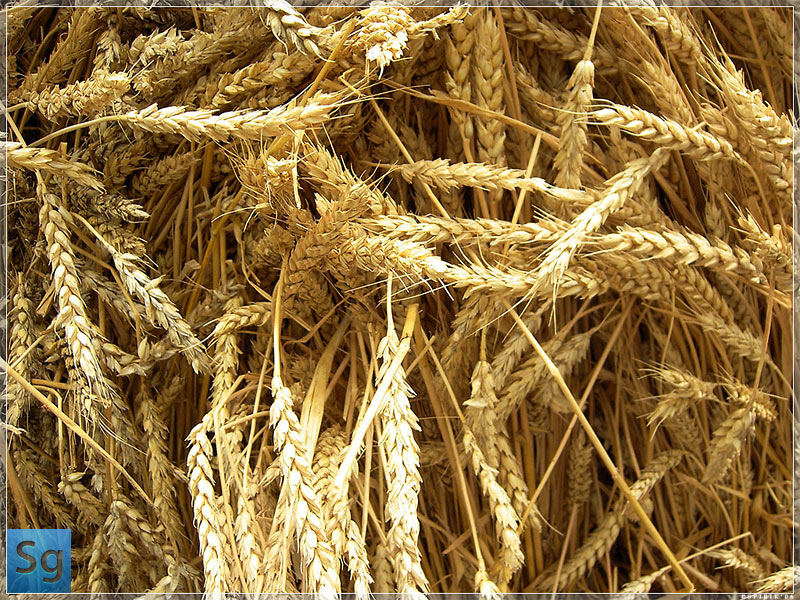
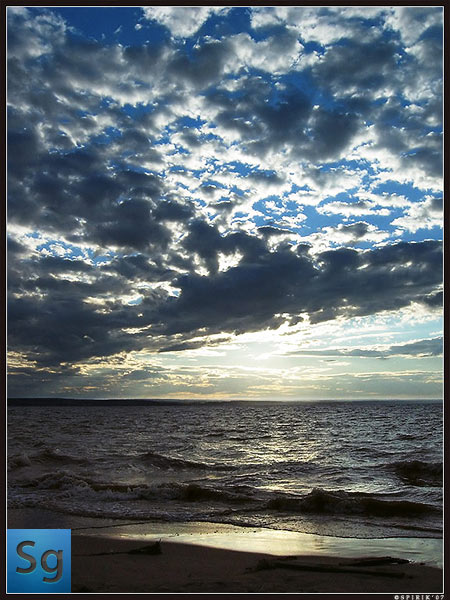
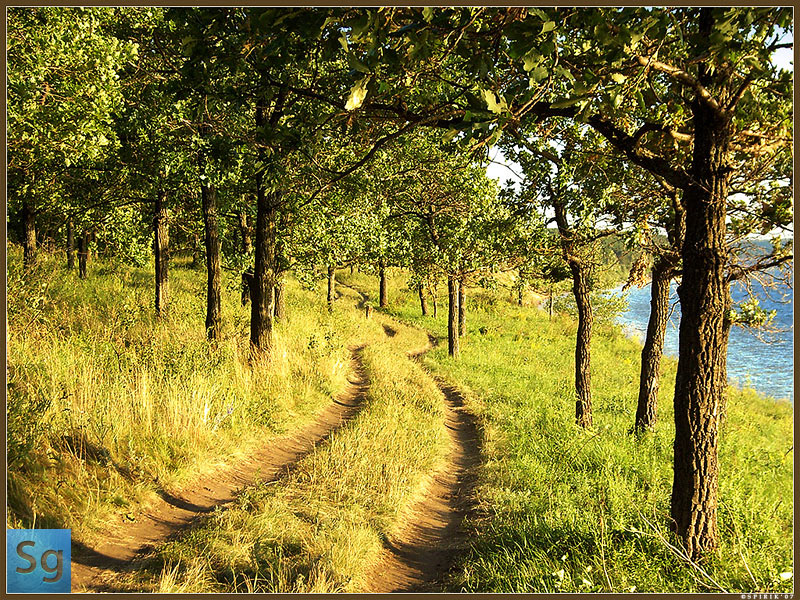
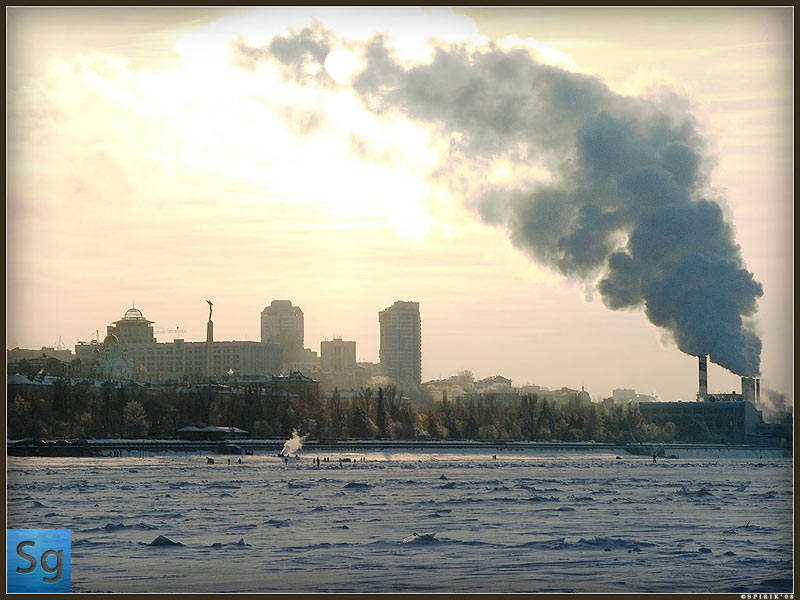
The following images gallery was produced from the very same sample images you get with Sample pack (which by the way is some of my photo works) with the help of HTML, CSS and prettyPhoto (which is the plug-in for jQuery and by the way it's great!).


Social Tools